Finishing the Quilt
- To finish the applique there are 2 remaining pieces to be added. The Kitty's tail and the moon in Graveyard. As you have been doing, baste the Kitty's tail into place, scooting the raw edge of the tail under the Kitty's body that you left open as you turn under the seam allowance. Baste and applique. Add the embroidered motion lines for the tail. In the Graveyard block, baste the moon into place using the pattern for position, over top the seam of the block. Applique.
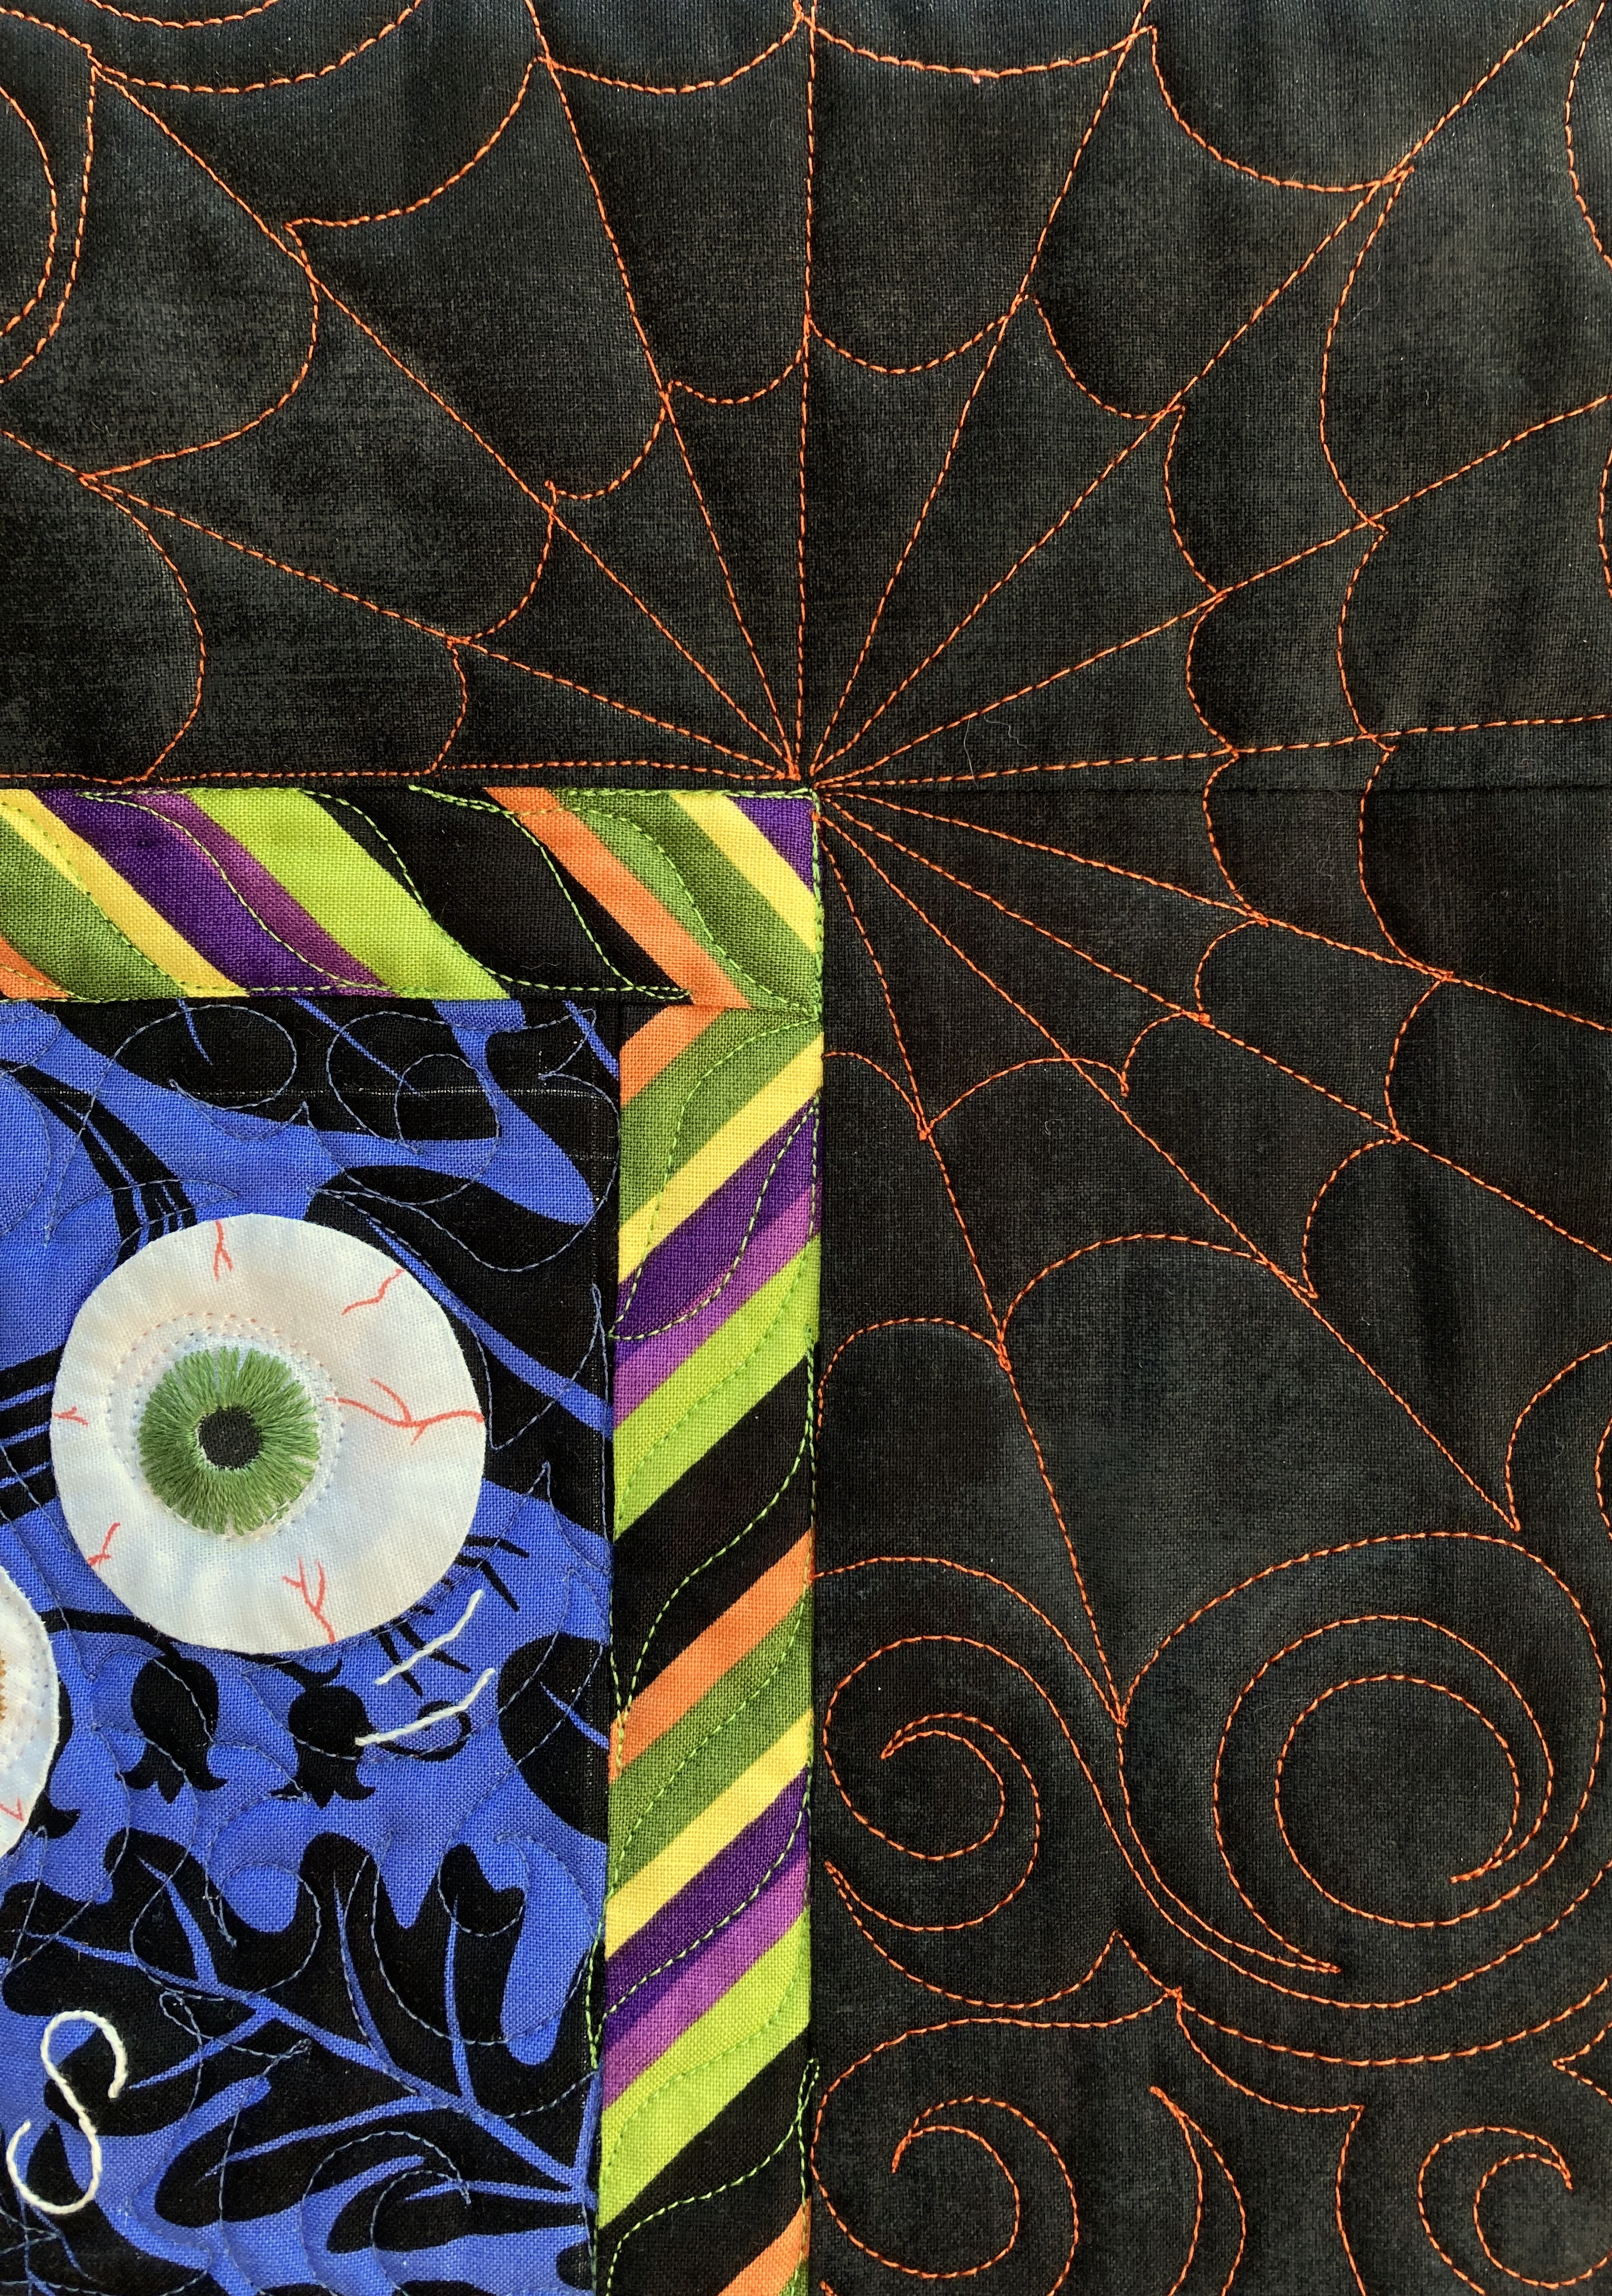
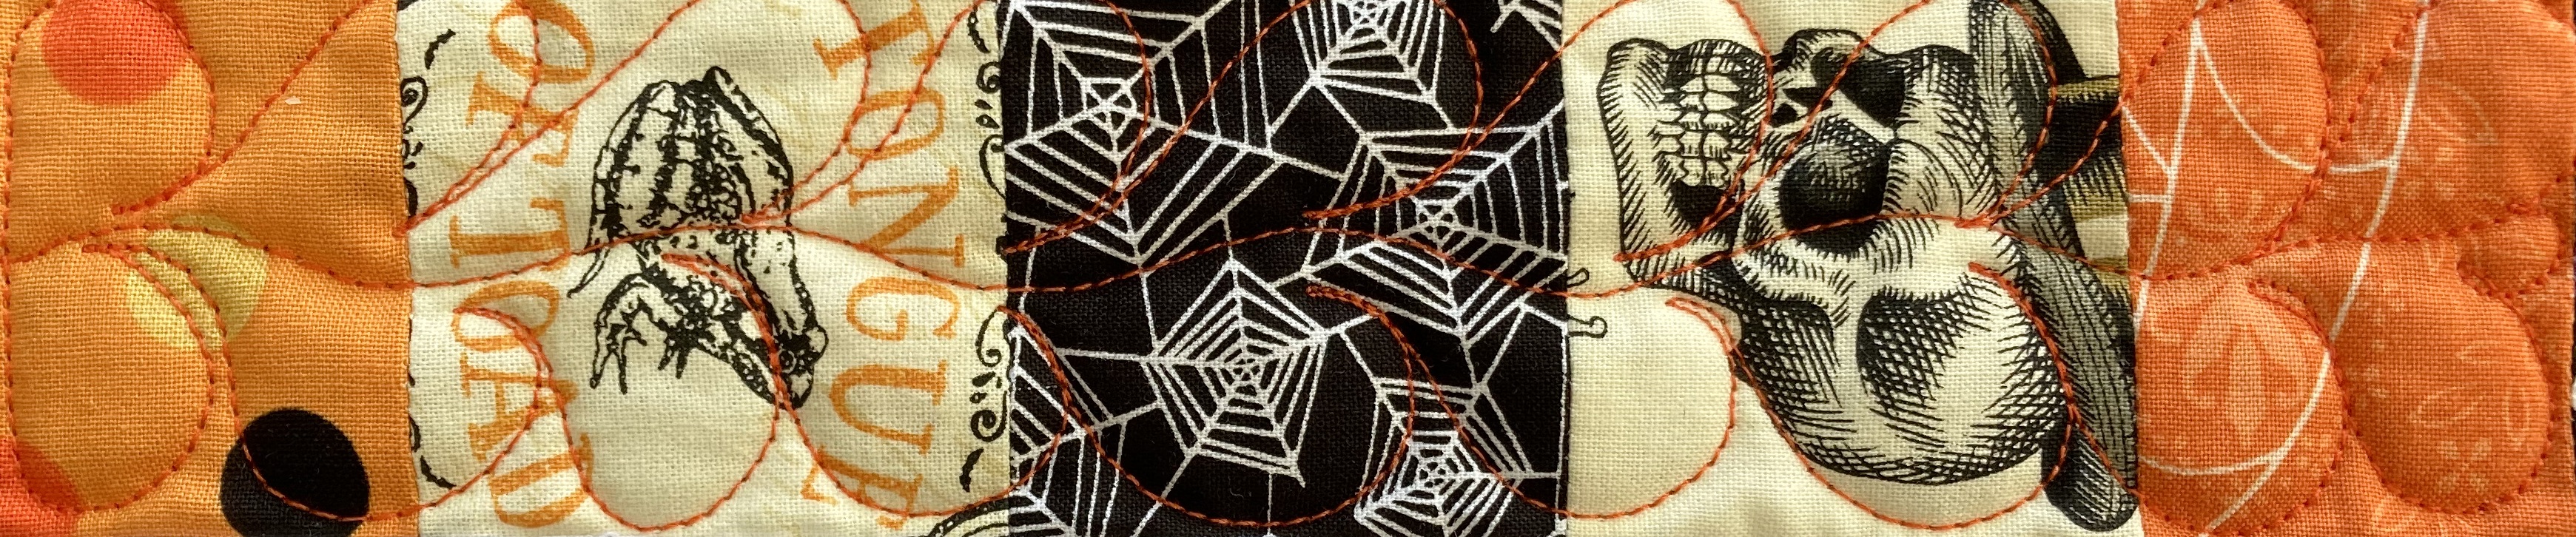
- Now is the time to add buttons and whatever other embellishments you wish to add. If the buttons or embellishments are very "3-D" you may want to have the quilting done first and add these later. I think it works either way depending on what you have chosen and how you will be attaching them. This is a good time to scan over all the blocks to make sure you didn't forget any embroidery or details.
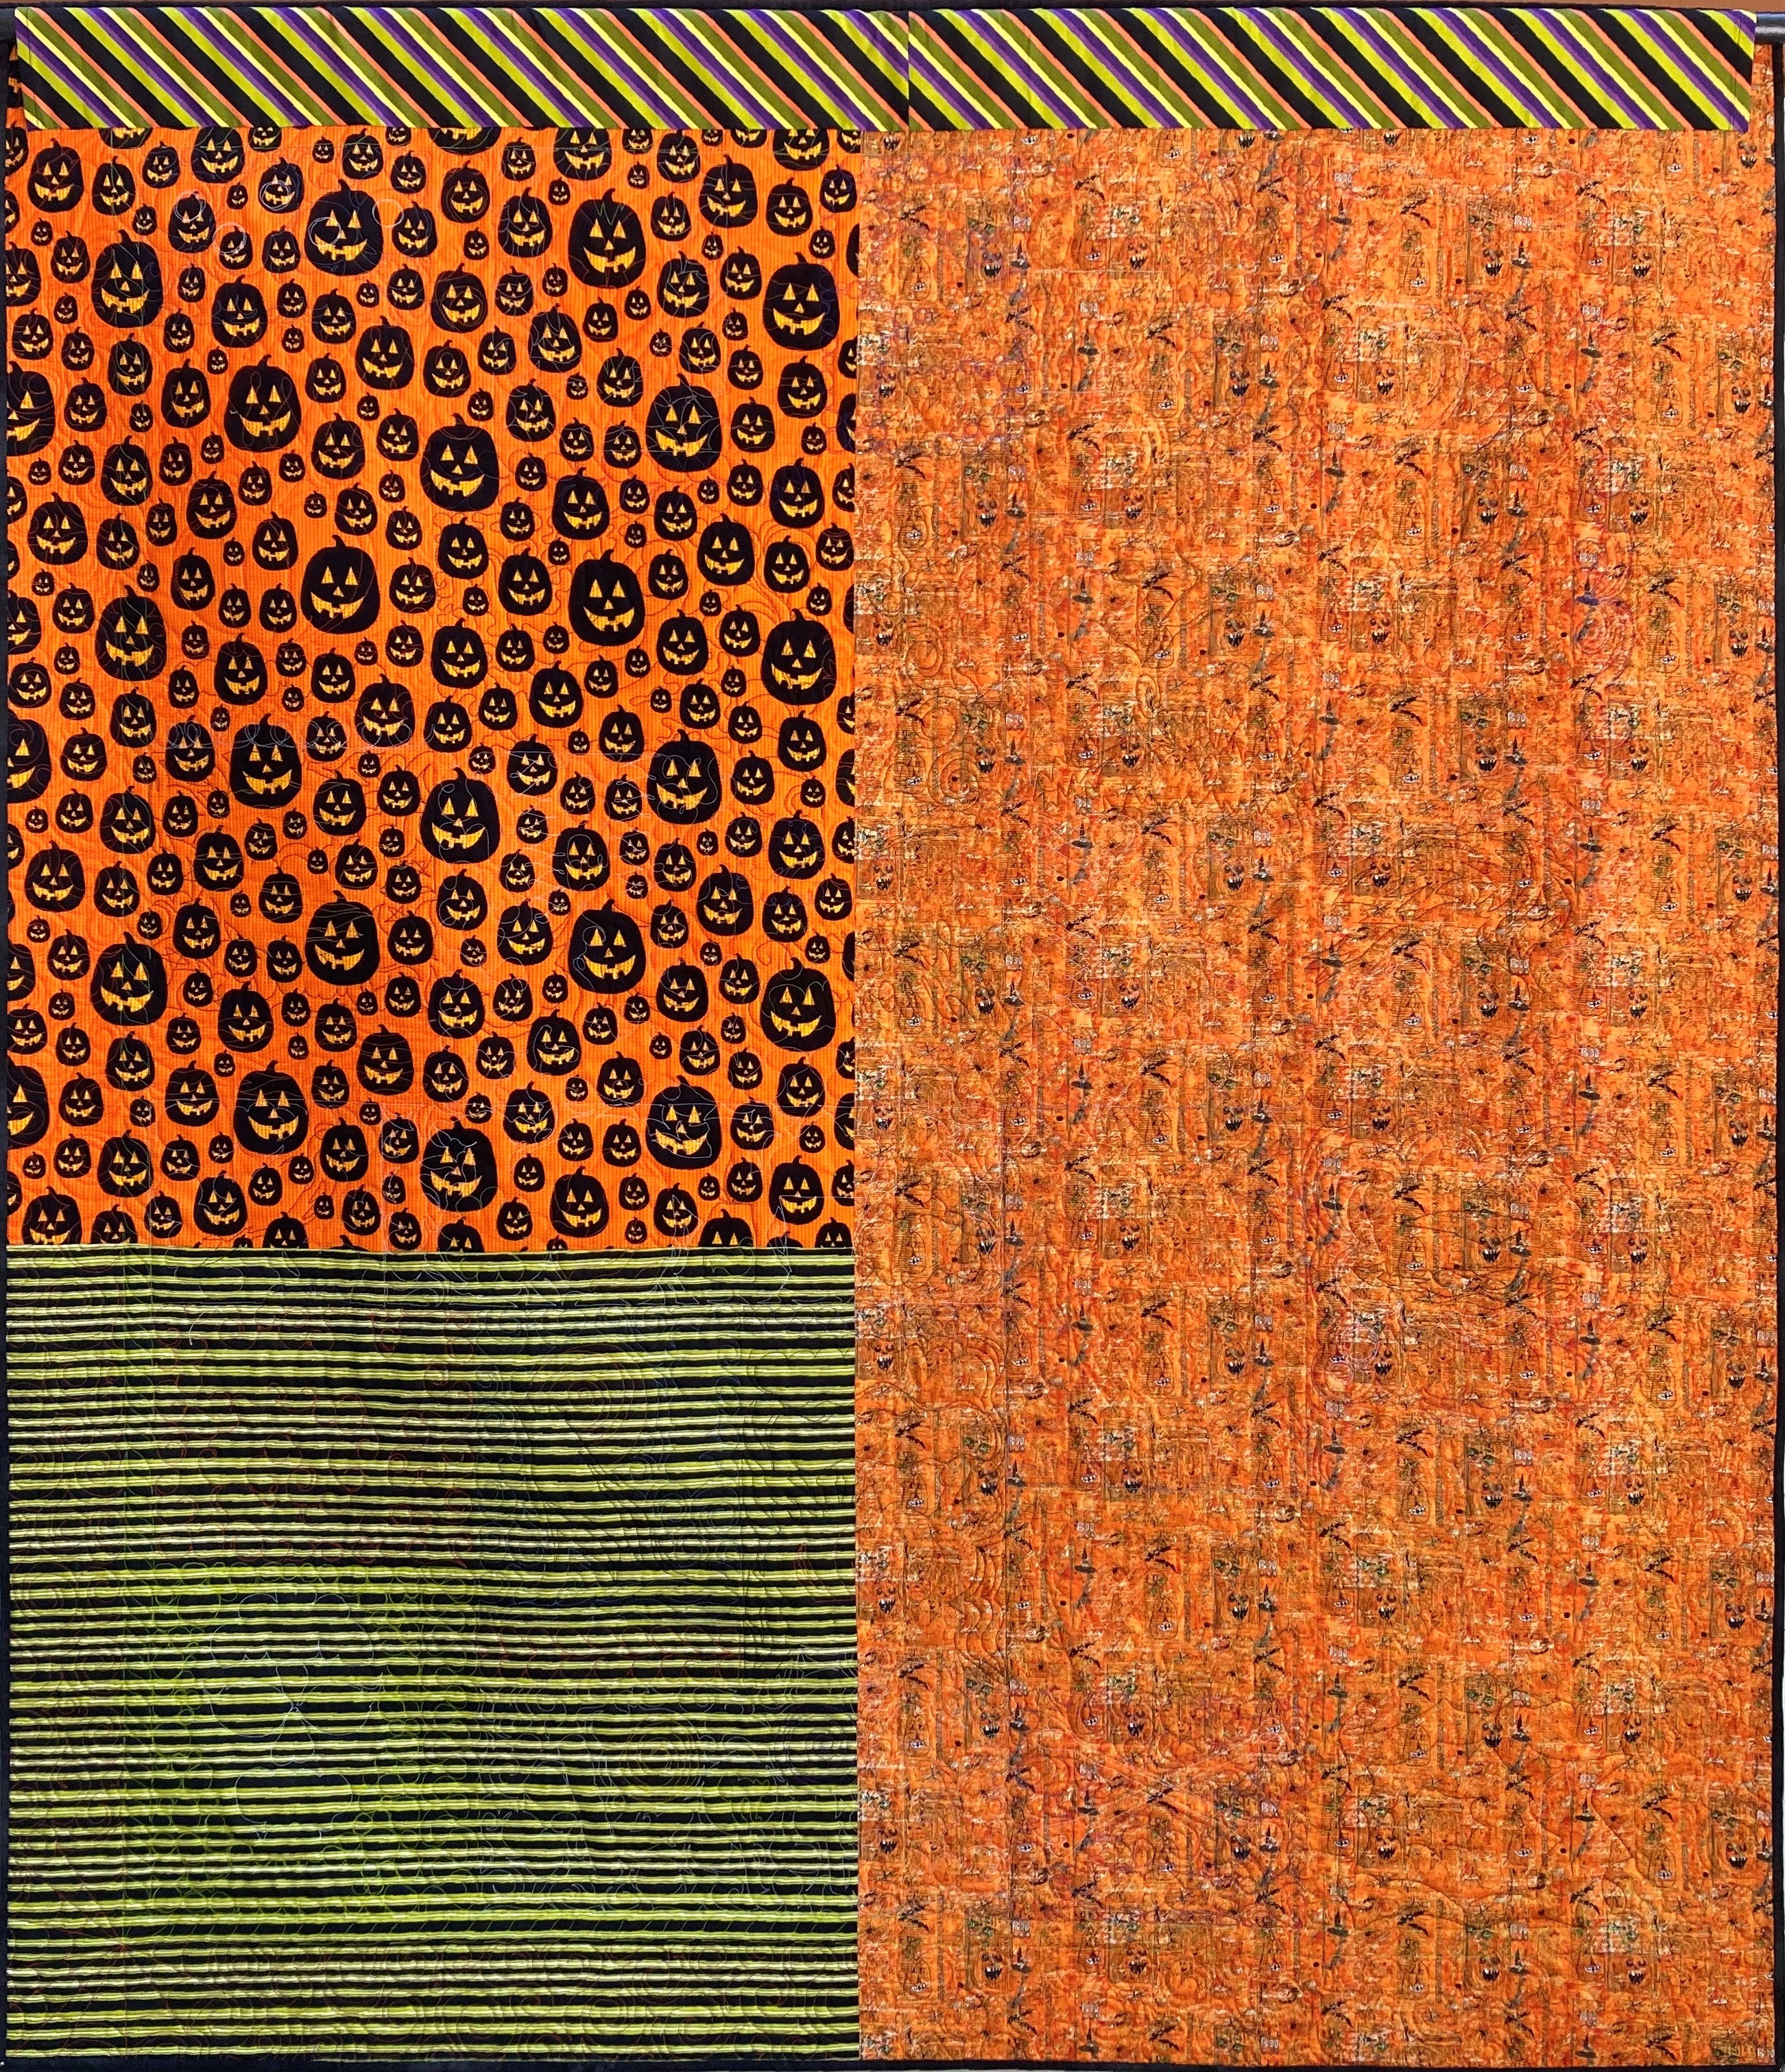
- This version has a skinny 1" finished border going around the quilt top. You will need 1/3 of a yard and will be cutting 1-1/2" strips. Youwill need 2 strips at 50.5" x 1.5", and 2 at 62-1/2" by 1-1/2". This is of course assuming your finished top is 50.5" by 60.5", so you'll want to be sure to measure accurately when cutting your strips. Sew on the 2 shorter strips first and then the 2 longer sides.
- Once the skinny borders are on, the top becomes 52.5" by 62.5". The outer borders are cut at 4.5" wide. This requires 2 strips at 4.5" by 52.5", and 2 strips at 4.5 by 71". As with the skinny strips attach the short sides first and then the longer sides. Your top is now complete. It should measure 60.5" by 71". You may of course want to alter the sizes of your borders to suit yourself!
- Your backing can be pieced like mine (a good use of what you have on hand!), or made to be 68" by 78" allowing for extra for your quilter. Add a sleeve and it's ready for hanging ;-)
1 Lesson